

How To Install Golden Select Laminate Flooring
I am Beyond thrilled to tell yous guys that nosotros're finally working on the flooring beyond the house. With the assist of Gilt Select, we're adding cute laminate flooring to the house and replacing rug, miss-matched hardwoods, and more. In the process, we've become experts on how to install laminate flooring.
*Golden Select sponsored this mail, only all thoughts are my own. Thank you for supporting the brands that brand PMQ for two possible.
Why chose Golden Select Floor?
A few reasons: quality, price, availability, pet immovability, and the Splash Shield applied science.
The quality is outstanding. We did some quiet enquiry beforehand, and Golden Select flooring stands upwardly quite well to heavy traffic aka daily life.
The toll is right for the amount of floor nosotros have to install, and that weighs heavily in our decision – as it does for most.
Nosotros can buy and order Golden Select Flooring through Costco, which means we don't accept to do anything special to get our hands on it. And if one store is running depression, nosotros can have information technology ordered in. Win!
We take a dog and two cats, and laminate stands up better to pets than hardwood.
Splash Shield technology means that it's waterproof upward to 24hrs. That's music to my ears with a babe, who will soon be a toddler.
Where to purchase Golden Select laminate floor
Golden Select is available in Canada at Costco. And so if y'all're not already a fellow member, get on that! And if like us, you lot'll be re-doing the house, get the executive membership with the 2% greenbacks dorsum so that y'all can brand back the cost of your membership and and then some.
, we walk you through the process in our dining room.")
You can find the Costco nearest you lot using their store finder. Our local shop had a case on for 31.99$, and that's quite a adept price when you're looking at doing the house.
How to install Gilt Select Flooring
Depending on whatever previous laminate flooring installs yous've washed, the basics are the same. The major difference hither is that Golden Select flooring is installed from left to right. And then pick the side of the room to offset on, accordingly.
Start past clearing out the space. In our example, we rolled-up the rug and moved all the furniture into the hallway.
Yous demand a Level subfloor
Ensure you have a level subfloor before laying. Nosotros didn't become down to the subfloor considering a) we needed to bring our floor up to friction match the kitchen tiles b) the flooring was level c) the hardwood expanse that dominated most of the room was similar subfloor.
, we walk you through the process in our dining room.")
Install whatever mouldings beforehand
Considering we're going room by room, nosotros need reducers and t-mouldings betwixt spaces and flooring.
To install those, measure the space needed, and so cut the strapping and laminate piece using your mitre saw.
, we walk you through the process in our dining room.")
, we walk you through the process in our dining room.")
Dan starts by measuring, and then using a pencil he traces the contour of the door frame. He uses out reciprocating bract to do particular cuts.
, we walk you through the process in our dining room.")
The mouldings come with the strapping and screws, so install per the directions.
, we walk you through the process in our dining room.")
Once the strapping is down, you'll install the planks and so add the laminate piece at the very end.
SelectLOCTM Click Installation
The click installation is intuitive, and easy one time y'all get going.
Before you lay the beginning plank
Go out a three/8″ gap effectually the perimeter of the room. We take shims that nosotros cut and identify effectually the room (taping them to the wall using painter's tape) to keep the gap. This allows for the boards to aggrandize and contract with the house.
No plank should be less than 16″, so after measuring the length of your start row in relation to the length of the boards, y'all may demand to cut the first board to ensure that the last plank is no less than 16″.
Laying the first plank
You lay it with the long edge along the wall, and the grooved edge facing you lot (so that other pieces can click onto it).
, we walk you through the process in our dining room.")
Laying the 2d plank
Lift the right side of the second plank to a 30 degree angle, and place its short-end natural language into the groove of the first plank.
Lower the plank until information technology looks together.
, we walk you through the process in our dining room.")
Using a discarded piece to tap the others into place
We often employ a discarded piece and a safety mallet, to tap pieces into place if they demand to be moved effectually. Although not recommended, if you have to, yous should never hitting the grooves of the boards you're installation directly. with a hammer or mallet.
Laying the side by side row
Once you've completed the start row, yous practise it all over again! Information technology's quite simple once you become going.
Nosotros recommend bringing your mitre saw into the space you lot're in, as it will relieve you a few trips during installation.
Making detail cuts around pipes or radiators
Similar with any detailed woodwork, use a jigsaw or a reciprocating saw to practise what you demand to. We have baseboard radiators, so we had to practise some detail work on our first row to make things work.
, we walk you through the process in our dining room.")
One time you lot're washed laying the laminate flooring
Nosotros always let the floor sit for 24hrs before adding baseboards, so that things can settle and adjust. At that place'south an incredible amount of subtle movement that happens, and its best to permit it happen earlier you make information technology hard to accommodate.
, we walk you through the process in our dining room.")
Installing the baseboards
Considering the Aureate Select floor has a h2o resistant Splash Shield engineering science, that resists spills up to 24 hours, the baseboard installation is only as of import as the SelectLOCTM installation.
You need to apply a dewdrop of silicone to the base of the baseboard (the part that touches the floor).
, we walk you through the process in our dining room.")
Once information technology's against the wall, use a blast gun to secure the baseboard to the wall. Go around the room doing this to completion.
, we walk you through the process in our dining room.")
Your Golden Select Laminate flooring is at present spill proof! Rejoice! You installed floor on your own.
Trouble Shooting Gilded Select Flooring Installation
They've got a handy installation section on the site with a guide and a assist line. Don't be agape to employ either if yous need it!
Golden Select Sandstone Laminate Flooring
We chose Sandstone for our habitation. It matches the flooring we had already installed in the nursery, and looks great with our existing color scheme.
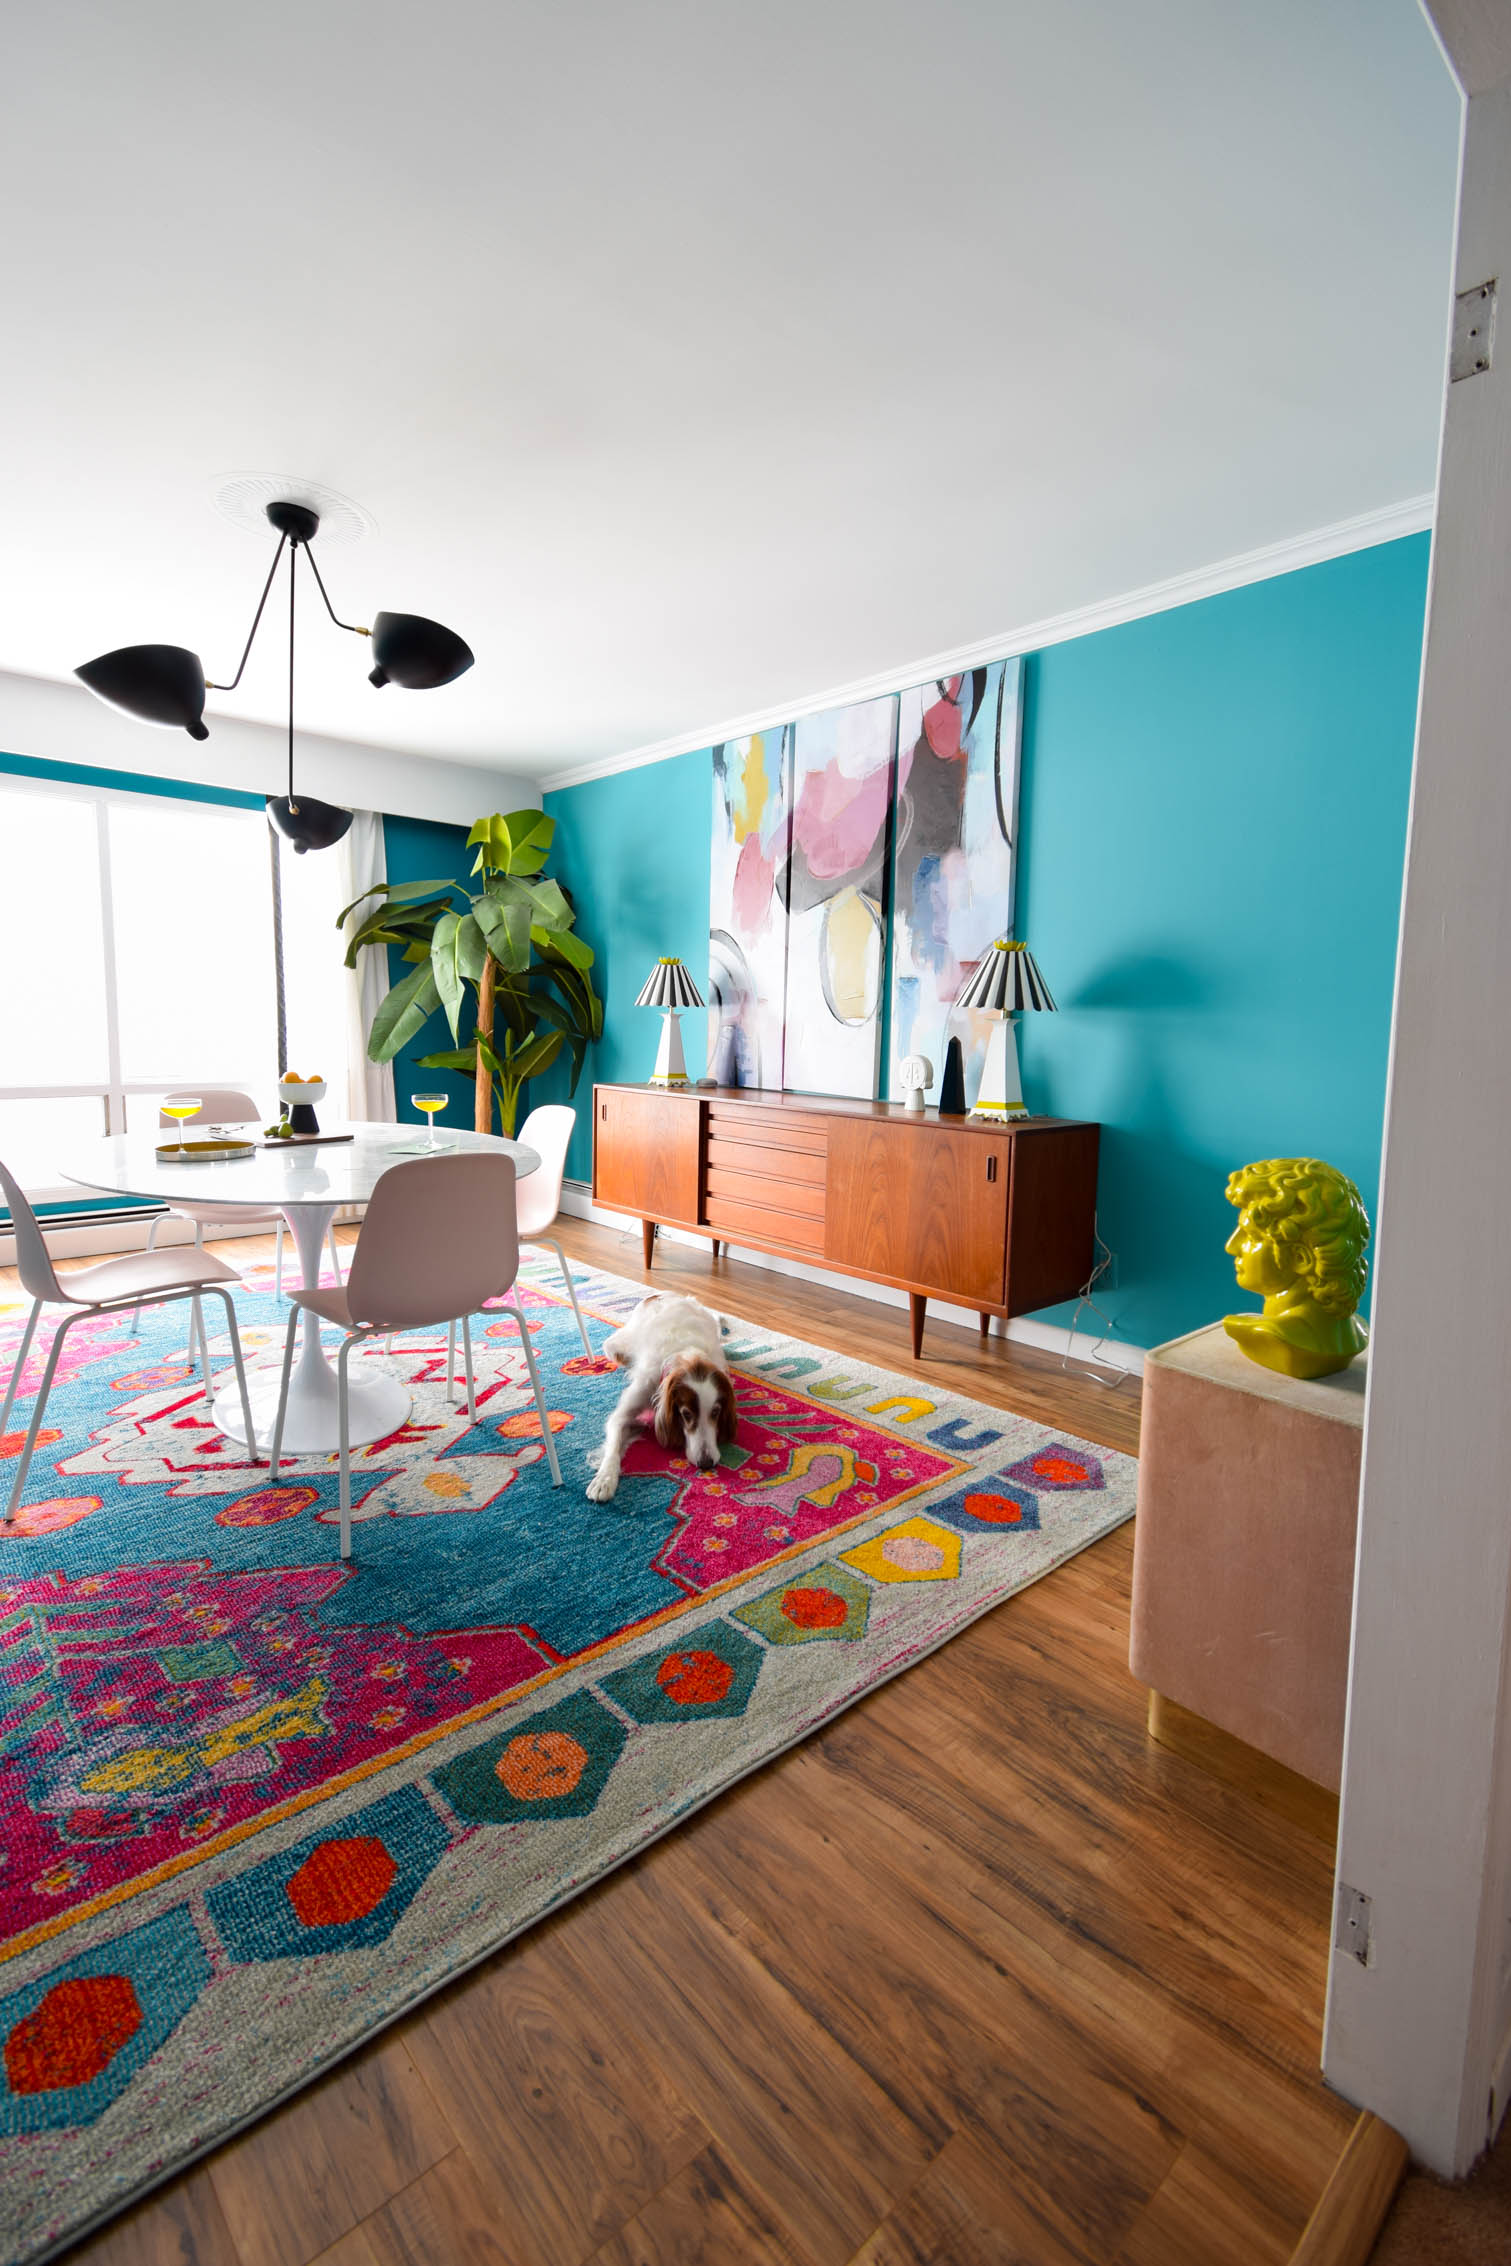
The eclectic Mid Century Modern dining room has never looked better! GONE are the xanthous maple hardwood floors (that only covered part of the room), and Here are some beautifully sturdy warm floors.
, we walk you through the process in our dining room.")
As you can see, we took the door off during installation, and simply haven't hung it dorsum on yet!
, we walk you through the process in our dining room.")
I particularly love how the flooring looks next to the kitchen tile. You can see here that nosotros've got carpeting in the hallway still, but that'll exist the next infinite.
, we walk you through the process in our dining room.")
Seen from the kitchen, the space is finally looking as it should – imperial.
, we walk you through the process in our dining room.")
, we walk you through the process in our dining room.")
, we walk you through the process in our dining room.")
, we walk you through the process in our dining room.")
And now, a love story between Bruce & June:
, we walk you through the process in our dining room.")
, we walk you through the process in our dining room.")
, we walk you through the process in our dining room.")
, we walk you through the process in our dining room.")


Source: https://www.pmqfortwo.com/how-to-install-laminate-flooring/
Posted by: wilcoxuntio1958.blogspot.com
0 Response to "How To Install Golden Select Laminate Flooring"
Post a Comment